
This article will introduce the detailed operation steps for using the interface testing and replay testing features in the AREX Demo platform. Through this article, you can learn about a new approach to achieving efficient automated regression testing.
AREX is an open-source automated testing tool platform based on Java Agent technology and comparison technology. It achieves fast and effective regression testing through flow recording and playback capabilities. It also provides rich automated testing functions such as interface testing and interface comparison testing, which can be quickly learned without programming skills.
AREX can be installed with one-click of all basic service components through Docker-Compose. In addition, AREX also provides an online trial platform AREX Demo, which is consistent with the latest official version and can be used without deploying all service components, greatly reducing the effort required for trial.
This article will introduce the detailed operation steps for using the interface testing and replay testing features in the AREX Demo platform. Through this article, you can learn about a new approach to achieving efficient automated regression testing.
Accessing AREX Demo
Use Chrome to access the AREX Demo platform: http://demo.arextest.com/. Registration is required for the first login.
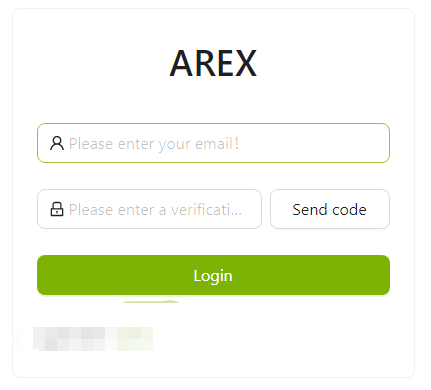
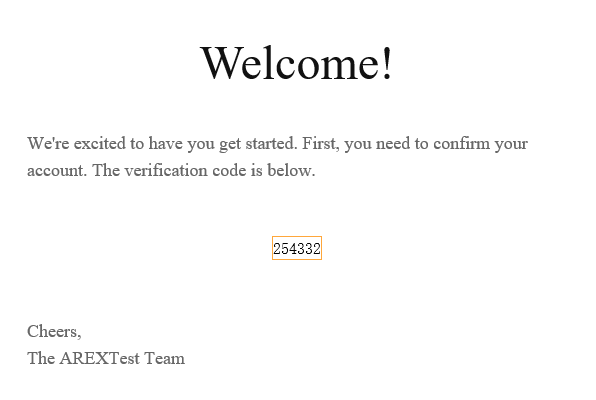
After entering the email, select Send Code. Later, the email will receive the login verification code sent by AREX, as shown below. Fill in the verification code to log in.
After logging in, you will enter the UI page of AREX Demo, as shown below:
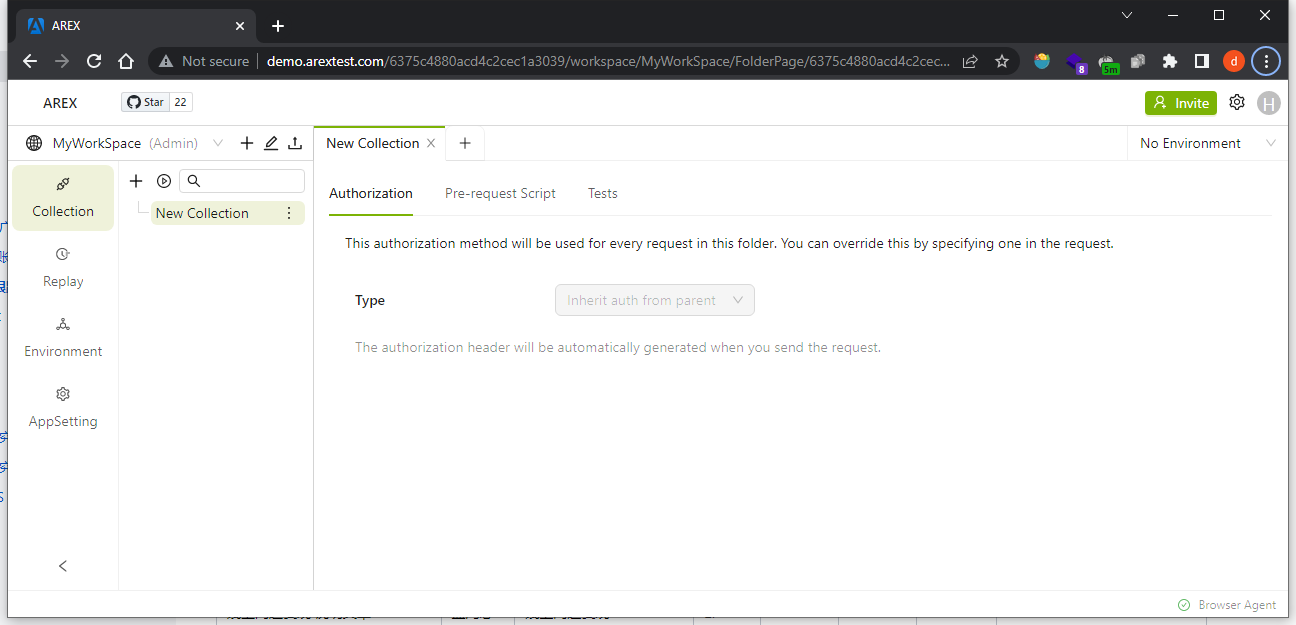
The primary interface area consists of the Work Space management area, Interface Testing (Collection), Playback Testing (Replay), Environment Configuration (Environment) and Application Configuration (AppSetting), User Operation Configuration, and other parts. See the details in AREX Docs.
Install Chrome Extension
Since the access to cross-origin resources is not allowed due to browser cross-origin restrictions, you need to install the Chrome Extension to make external interface requests through the extension if you need to send requests with AREX.
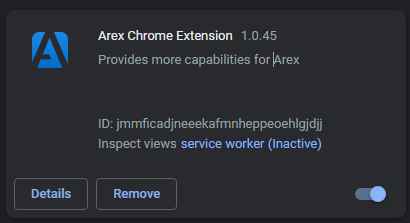
Visit Chrome Web Store and search AREX to add the Arex Chrome Extension, as shown below:
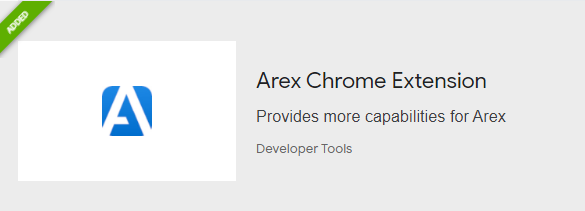
If you could not access the Web Store, just download the latest extension package to install. The current latest version of the plugin is v1.0.45.
With that, all the pre-work has been completed. Next, we will introduce in detail how to send requests, record and replay traffic by using AREX.
Send Requests by using AREX
In this article, the validation feature uses the simulation service provided by the official AREX-Community-test. The exposed address of this service interface in the demo environment is demo.arextest.com:18080.
- Create a new collection named "Demo-Community-Test" in Collection to create new requests.
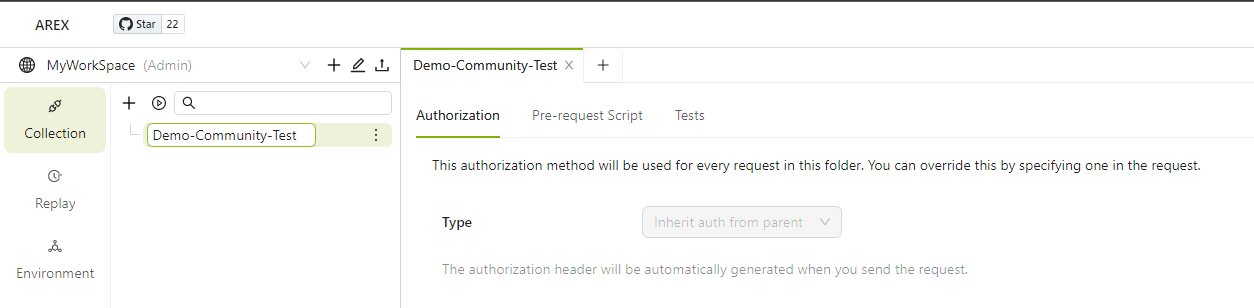
- Selecting Add Request in the dropdown list of the collection of "Demo-Community-Test" and set the request method as
GET.
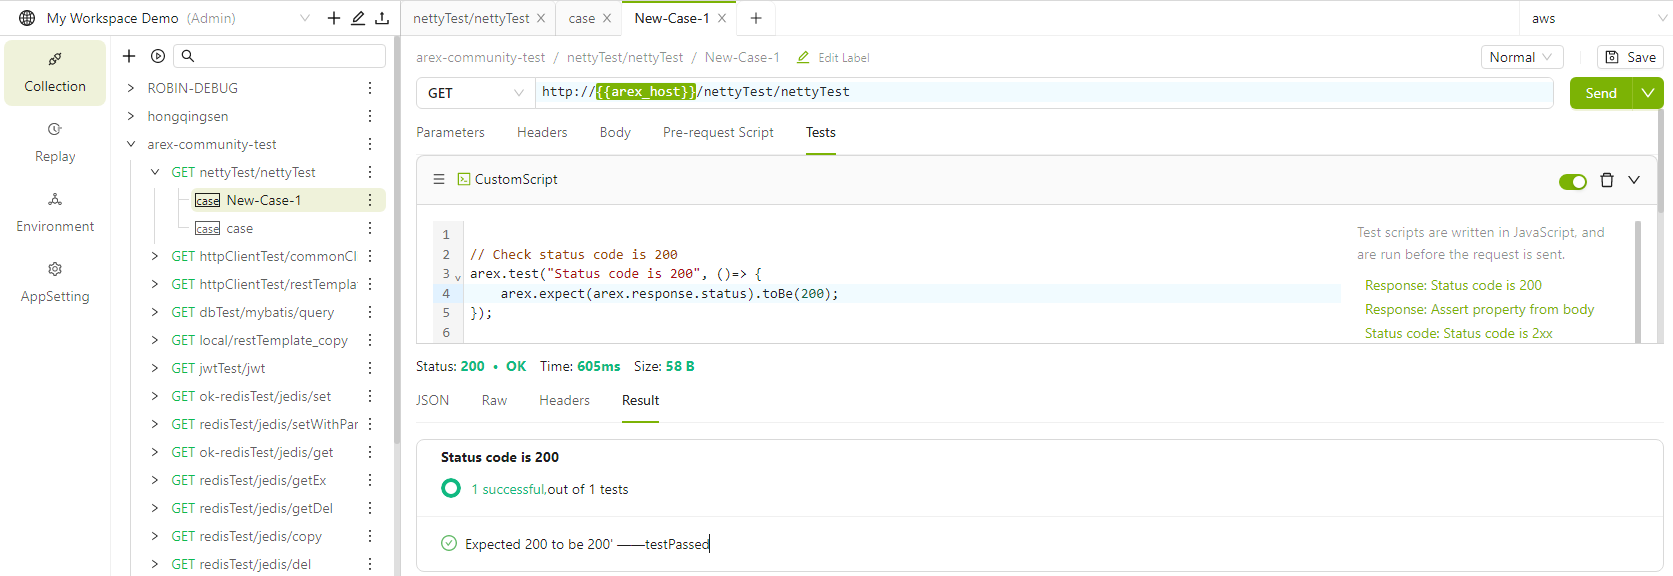
1. Enter the URL `http://{{arex_host}}/nettyTest/nettyTest`, where `{{arex_host}}` is an environment variable with the parameter name of `arex_host` and the value of `demo.arextest.com:18080`. Variables can be configured in advance in **Environment**. Alternatively, you can directly enter `http://demo.arextest.com:18080/nettyTest/nettyTest` as the URL. However, if you need to test in multiple environments (such as production, testing, and development), it is more efficient to use environment variables instead of modifying the URL manually one by one. You can just switch the environment to perform testing in different environments.

2. Select **Add Case** in the dropdown list of the new request to create a test case, the properties of the case will be directly inherited from the request to reduce maintenance costs.

3. Other parameters can be set as needed. Set parameters in **Parameters**, request headers in **Headers**, request body in **Body**, pre-request script in **Pre-request Script**, and assertions in Tests to verify if the response meets expectations.

4. After all the settings are completed, select **Send** to send the request and execute the scripts (if any), as shown in the figure below.
Traffic Replay with AREX
The traffic recording and replay function of AREX is implemented using Java Agent technology. To record an application, you need to first add Java Agent in the startup of the tested Java application:
environment:``- JAVA_TOOL_OPTIONS=``'-javaagent:/usr/local/tomcat/arex-agent-0.1.0.jar'` `-Darex.service.name=community-demo-name -Darex.storage.service.host=demo.arextest.com -Darex.enable.debug=``true
In which:
-Darex.service.name=community-demo-nameis to set the name of the application which will be displayed in AREX;-Darex.storage.service.host=demo.arextest.comis to set the address of AREX's Storage service todemo.arextest.com.
When the tested application loads AREX Agent and configures the AREX Storage service address correctly, you can see the application name in the replay testing list, indicating that the application has been successfully registered, as shown in the following figure:
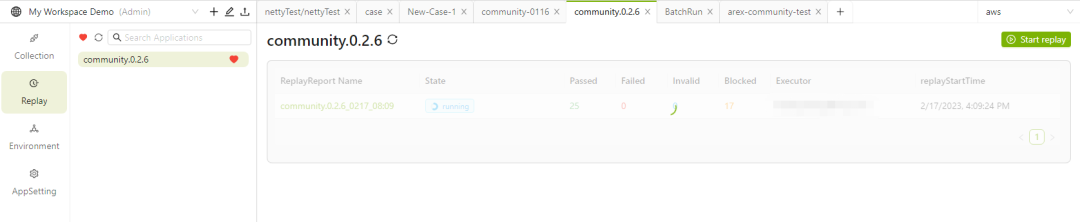
community.0.2.6 is the default name of the testing application Arex-community-test (version 0.2.6) used in this article. Then AREX will record every access to this service address, including requests, responses, and the external dependencies (databases, Redis, etc.). This process is the recording process of AREX.
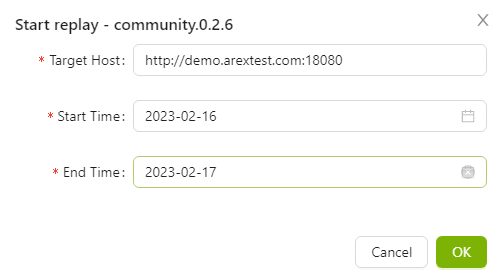
After recording, select Start Replay to replay the traffic. Select the target host for replay testing (for demonstration purposes, the recording and replay in this demo will use the same address http://demo.arextest.com:18080) and the start and end time of the recorded test cases.
AREX performs the replay operation by first using the Schedule Service to extract the recording data (requests) of the tested application from the database. Then, it sends an request to the target verified service. When the service receives the request, it processes the request logic and loads the external dependency data that needs to be mocked into it by the Agent. After the processing is completed, the service returns a response message. The Schedule Service compares the replayed response message with the recorded response message, and the Report Service analyzes and counts the comparison results, showing existing bugs or suspected bugs in the replay report for developers and testers to check.
The replay report is shown below:
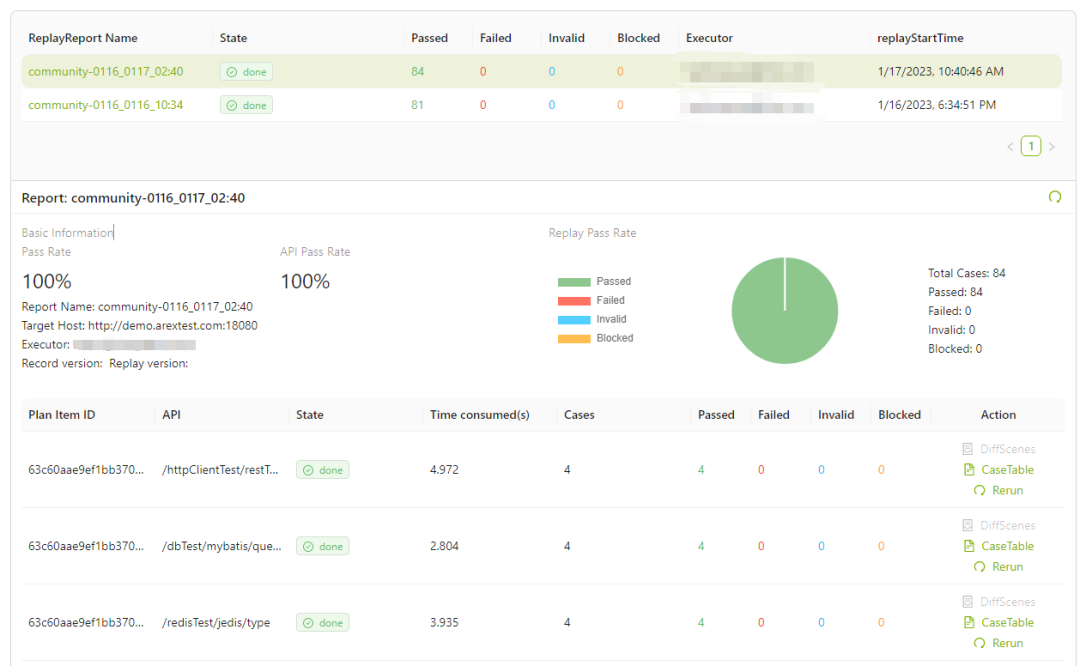
When there are differences between the recording and the replay, the report will show Failed cases in the report.

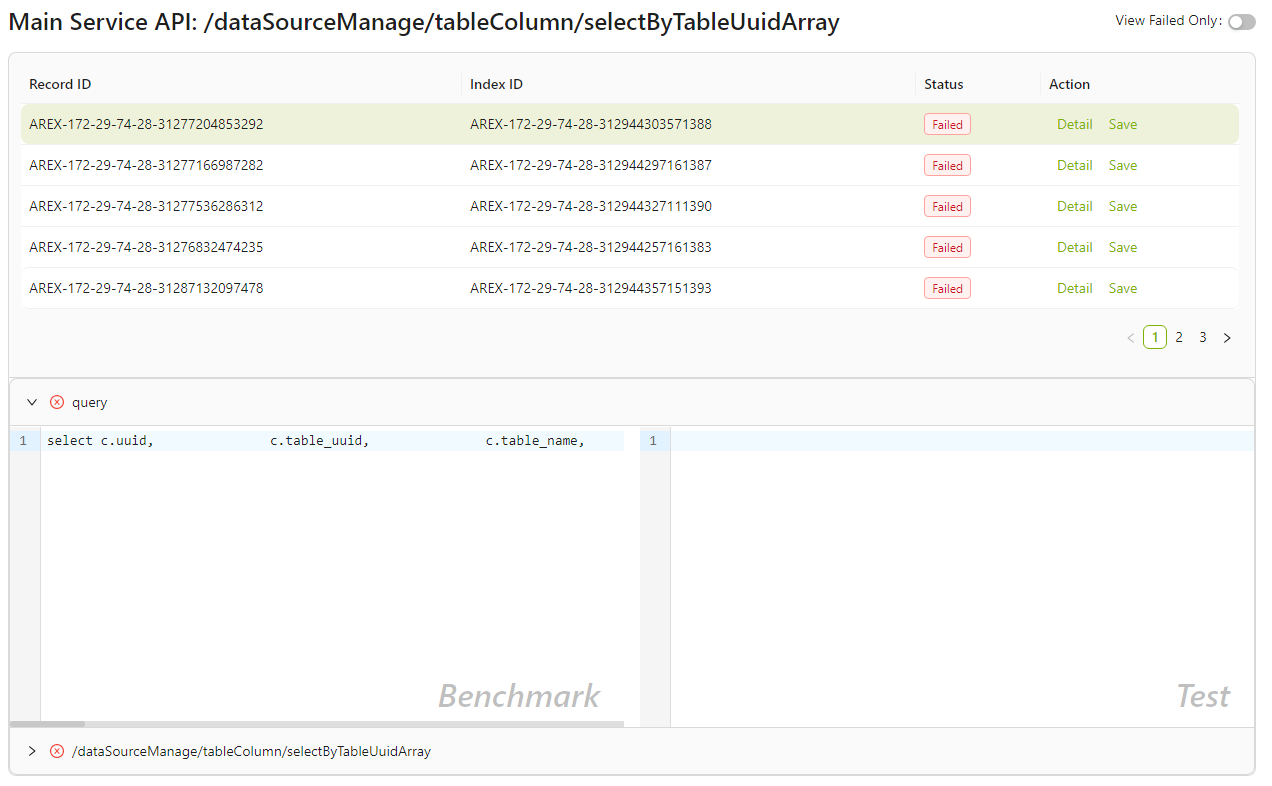
- In the report, select the Case Table under a certain path to view the status of each replayed case, as shown in the figure below. Select Detail to view the details, and select Save to save the case as a regular test case. As shown below, the left side of the Failed case is the recoding version with a database query, but the right side of the replay version does not, indicating that the replay has failed.
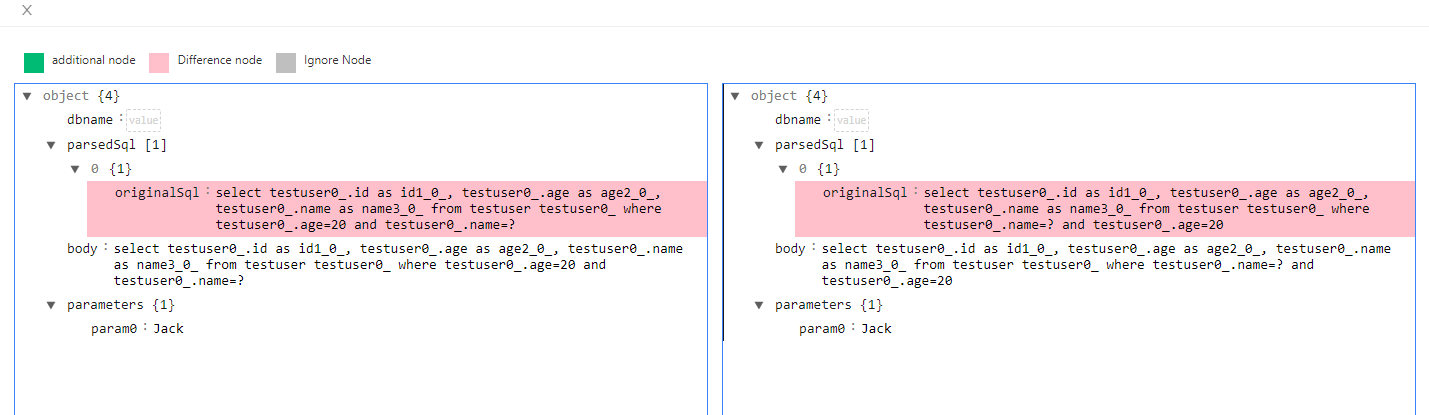
- Select Diff Scenes, AREX merges and displays all the comparison differences of this path, making it easier for developers and testers to view and analyze.

You can also choose Tree Mode for a tree view.
This is the complete trial operation of the AREX Demo platform. However, there are still some issues that need improvement in the demo platform:
- The AREX Demo environment is deployed on AWS, and some users have reported that the access speed is not very fast, especially when processing large data, the operation speed slows down significantly and needs further optimization.
- The AREX interface is still not user-friendly and intuitive enough, and it needs to be optimized for ease of use.
Currently, AREX maintains a release frequency of 1-2 times per month, and we believe that on the road of open-source co-construction in the future, AREX will become more and more mature and perfect.